"ClamXAV is my silent partner, it is so easy to forget that ClamXAV is just there, and always working in the background"
Bruce Lukaszewicz
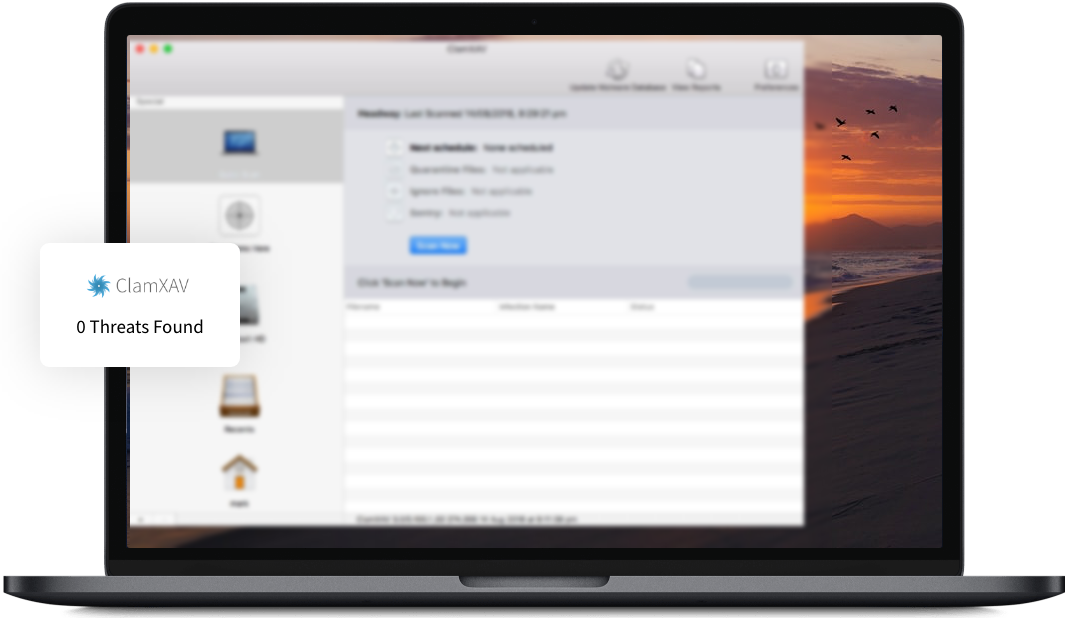
With the ClamXAV scanner heading off any security threats to your Mac, it's easy to get rid of unwanted intruders at home
The ClamXAV scanner efficiently heads off any malware and viruses in the workplace, and can help you comply with critical audit requirements and guidelines
Scan a specific file or your entire hard drive. Set it to scan automatically or run instant checks on suspicious files. It’s entirely up to you.
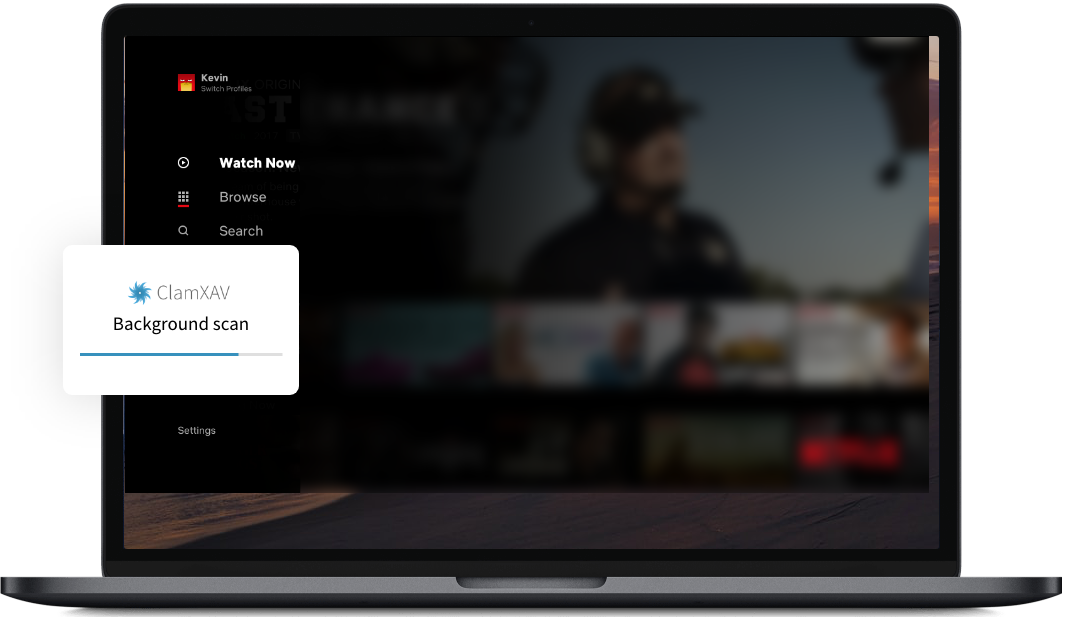
ClamXAV is light on processing but heavy on malware. You won’t even notice it working away in the background – but threats to your Mac will, as virus definitions are constantly updated.
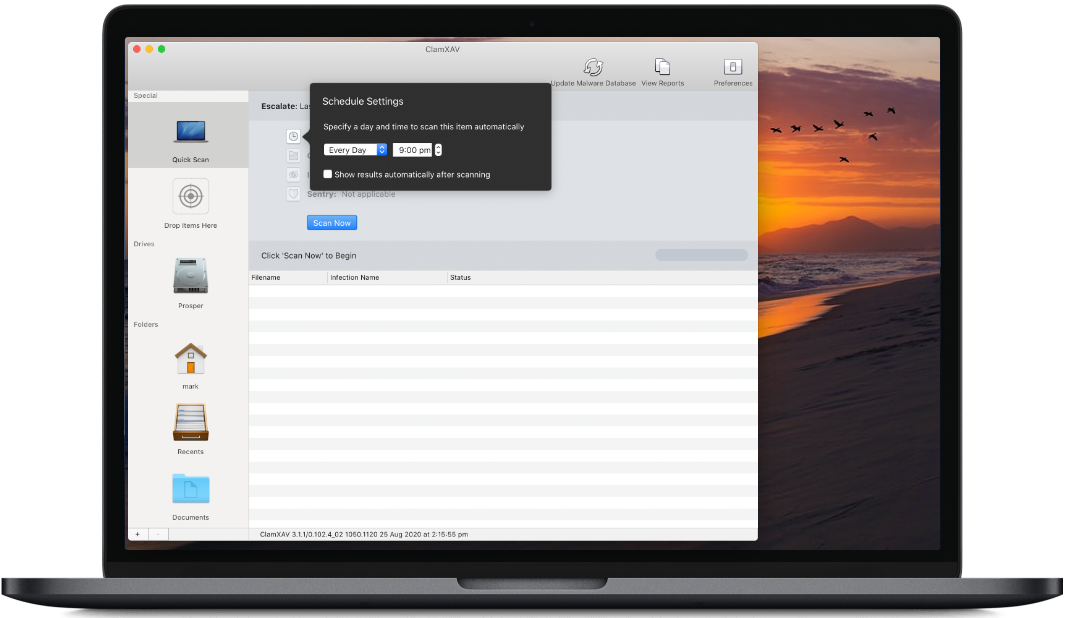
Set a schedule for particular parts of your computer to be scanned at a time when it's convenient to you.

With our Adware Defence technology built-in, ClamXAV stops pesky pop‑ups in their tracks.
$....
Protect all your coursework
(and everything else!)
from $....
Protect up to 3 Macs
in your home
from $....
Protect up to 9 Macs
in your home
from $....
+VAT/Tax as appropriate
For businesses, schools and
universities
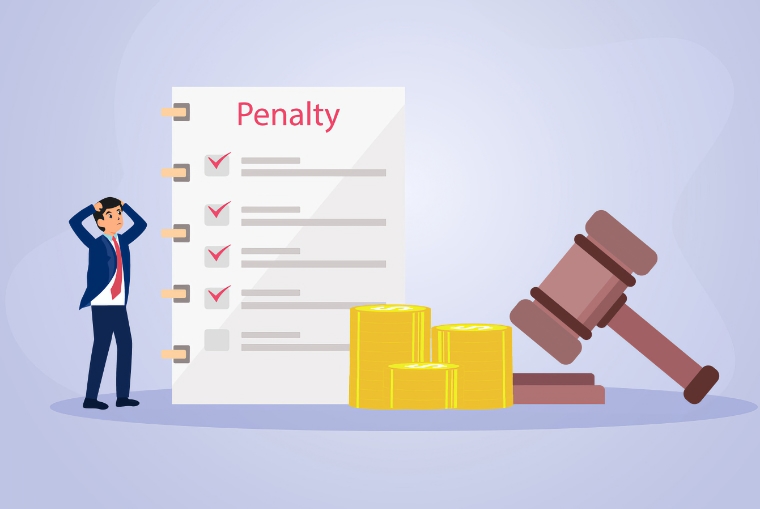
Feb 27, 2024
Ordered to pay $16.5 million by FTC